Draw a Dog Portrait in Colored Pencil
Wags the Cavoodle
Welcome to the wonderful world of Colored Pencil Dog Portrait Drawing!
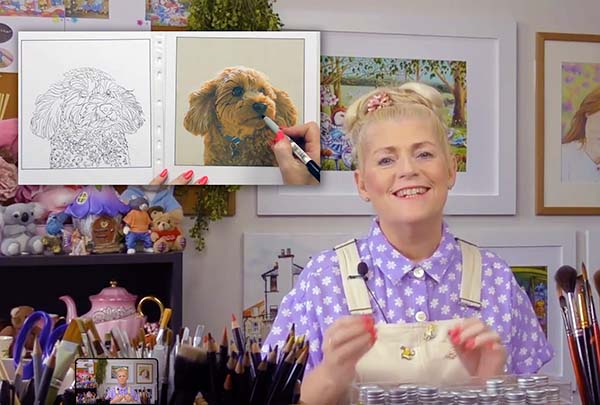
In this course I share my professional colored pencil drawing secrets with you in this super cute project – a fully rendered colored pet dog portrait drawing of “Wags The Cavoodle”.
Afterwards you’ll be able to apply these same techniques to your own colored pencil pet portraits.
This course (and so much more) is included in Cindy's Drawing Club membership.
Woof! Woof! Wags the Cavoodle invites you to join me in the studio to create his super cute portrait.
Look deep into those puppy dog eyes! They’re impossible to resist as I guide you step-by-step through Wags’s portrait.
I’ve spent years figuring out the quickest and easiest ways to do things so that you don’t have to. Follow along. This is going to be fun (plus you’ll learn so much too!)
Here are some Dog Portraits created by students of this course
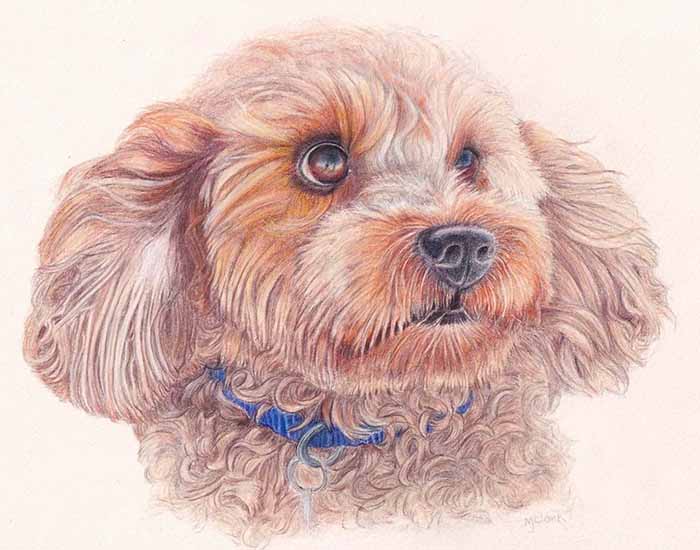
Artist: Mary-Jane Clark
Mary-Jane says “I have finally finished my version of Wags. Thank you, Cindy – for the wonderful tutorial. I learned so much!”
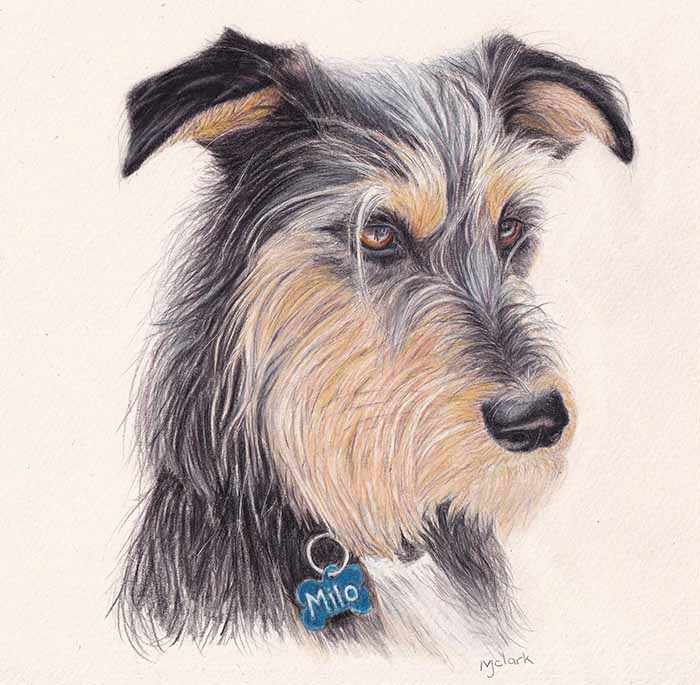
Mary-Jane also used the skills learnt in this course to create another dog portrait of Milo as he alertly watches for Chipmunks!
Well done Mary Jane!
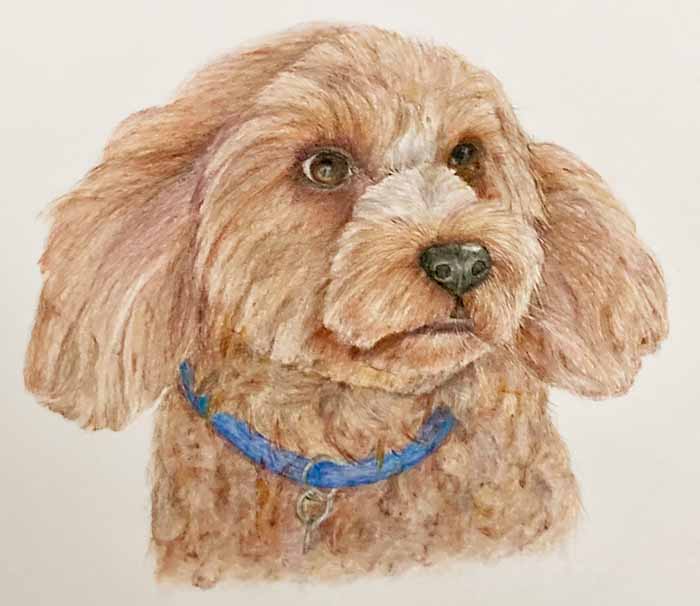
Artist: Dee Tracy
Dee says “Cindy’s videos on Wags are beautifully done and explained each section in great detail. The course is chock full of great information and tips. It was my first time using OMS and the slice tool”
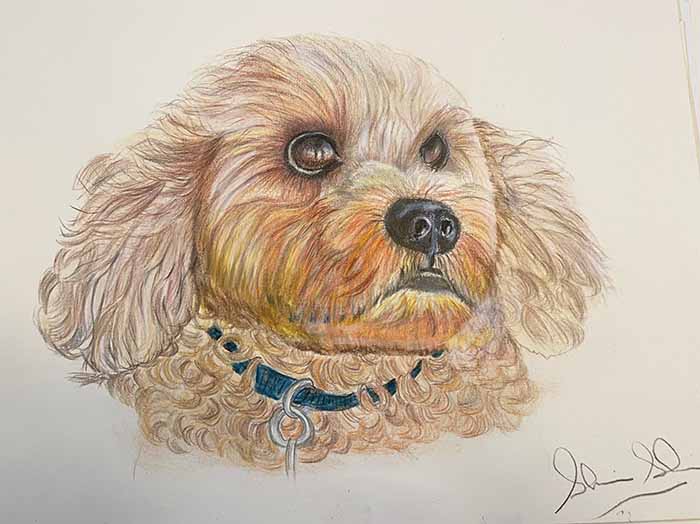
Artist: Shirin Shamsi
Shirin says “As someone who feared art, I now LOVE it! Thanks to Cindy’s step-by-step instruction. I could never have imagined attempting such a complex drawing before.”
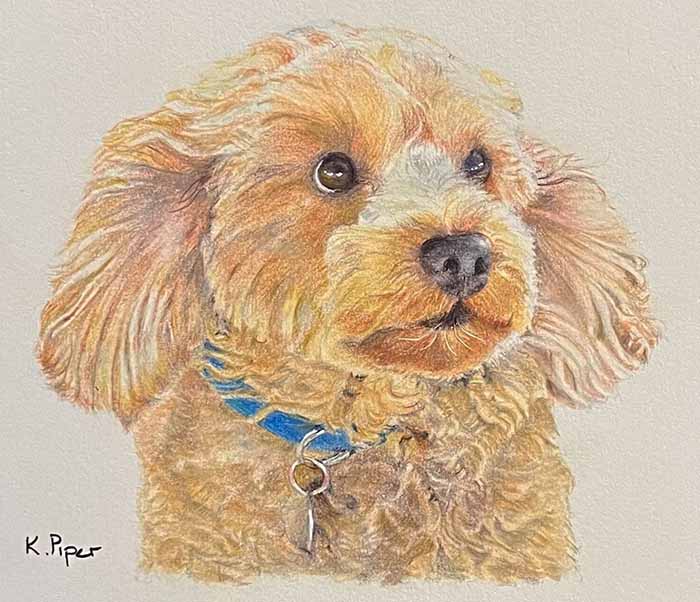
Artist: Karen Piper
Karen says “Thanks Cindy for a wonderful tutorial and subject. I enjoyed the journey and learnt quite a lot during this tutorial, especially how to lay down colour and when to use blending medium to get a more smoother look.”
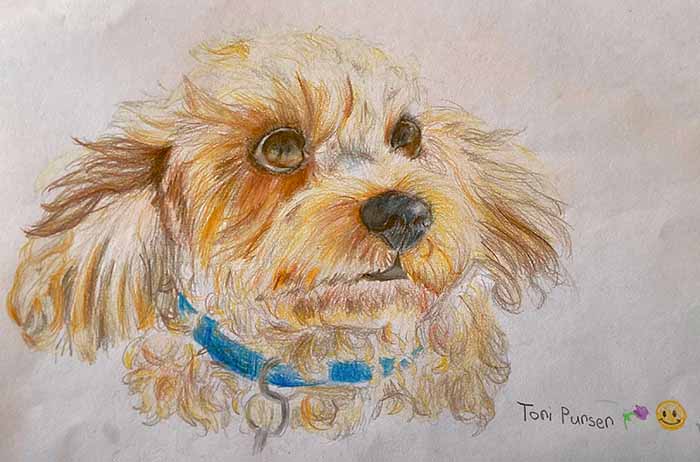
Artist: Tori Purser (10 years old)
Tori says “Cindy Wider is a great Mentor! She is really fun and helps me with a lot of different skills! I have improved heaps with her help and motivation.”
Amazing Colored Pencil Pet Portrait Results Fast!
Here are some of the pro tips I’ll be sharing with you…
Construction and Fur Outlines
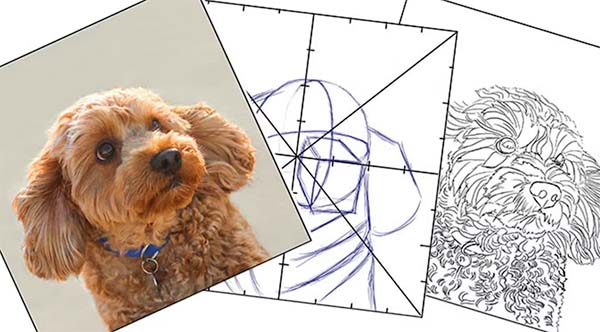
Great pet portraits start with great foundations. I show you how to create the underlying structure of Wags with basic shapes. Then you’ll learn how to create the outline and map out all that lovely fur so you know exactly which tuft goes where.
pssst.. just between you and me… I provide a copy of the entire outline drawing so you if you prefer you can skip past construction drawing straight to coloring. If you won’t tell neither will I 😉
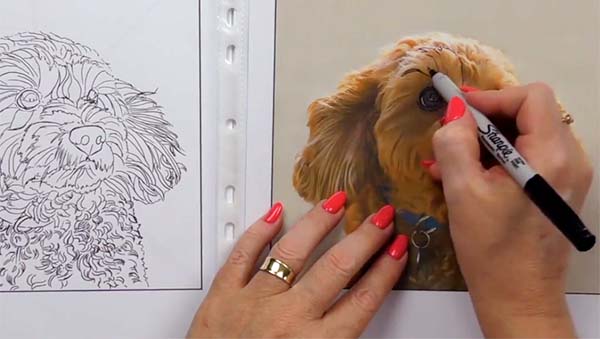
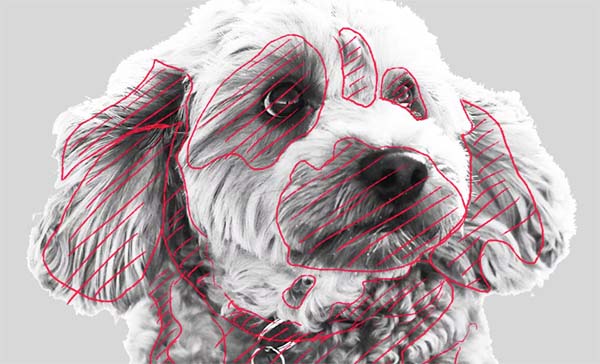
Shadow Map, Shadows and Highlights
Which bit is light? Which bit is dark? I reveal the secrets of Wags’s Shadow map to let you know where the darks and highlights go and everything in between to create Wags with perfect tone and contrast.
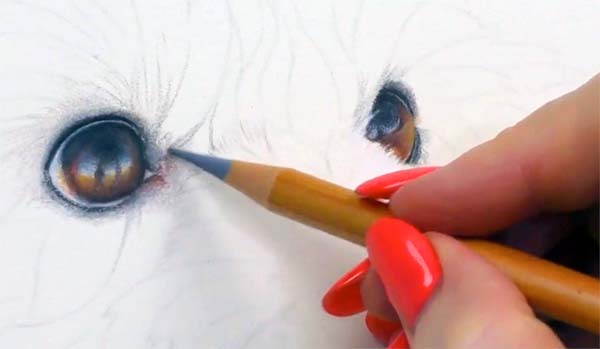
Cute Puppy Dog Eyes!
Who can resist a puppy when it’s being so adorable? I’ll show you how to create Wag’s eyes so that anyone who see’s your drawing will instantly exclaim ‘Awwww! that’s so cute!’ and then instantly fall love with your drawing.
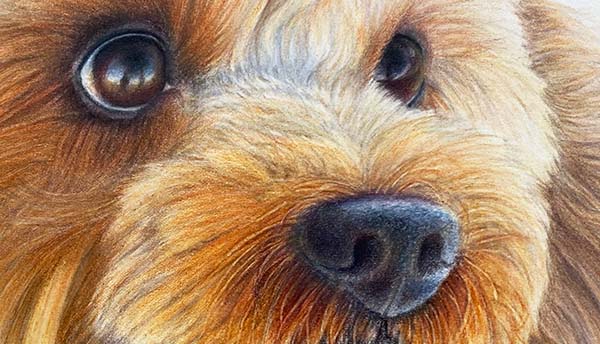
Snuffly Doggy Nose
A healthy pup always has a shiny wet nose. I’ll reveal to you the secrets and techniques you need to colour that adorable sniffer with just the right amount of shiny-ness. When completed you just won’t be able resist giving Wags a little boop on the tip of his schnozzle!
Super Soft Fur
Can you just imagine how soft Wags is when you pat him? I show you how to render those cute little tufts so that you will almost feel like you want to stroke his coat right on the paper!
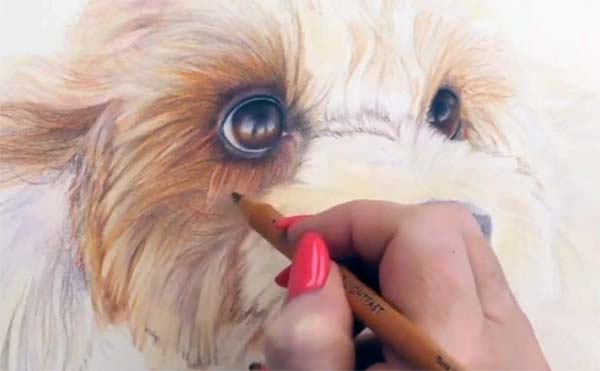
Prepare to be impressed!
And when I say ‘impress’ I mean I’ll be showing you how to use the ‘impressing technique’ to enhance Wag’s fur texture, to make him even softer and fluffier. Awww!
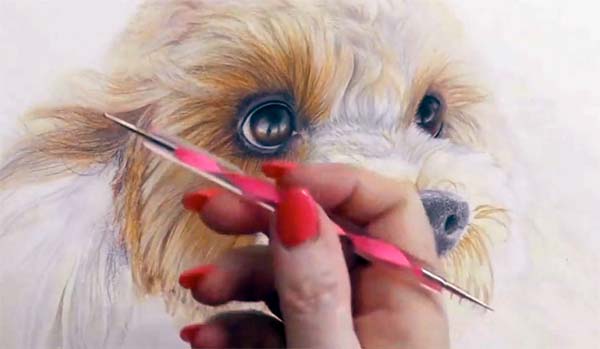
Plus loads of other tips and techniques sprinkled liberally throughout the course…
There’s little nuggets of coloured pencil drawing wisdom all throughout this course, so that you experience lots of ‘aha!’ and ‘oh, now I see how it’s done!’ moments. You’ll be using these tips for years and years when you go on to create your own artworks.
Works with a variety of Colored Pencil Brands
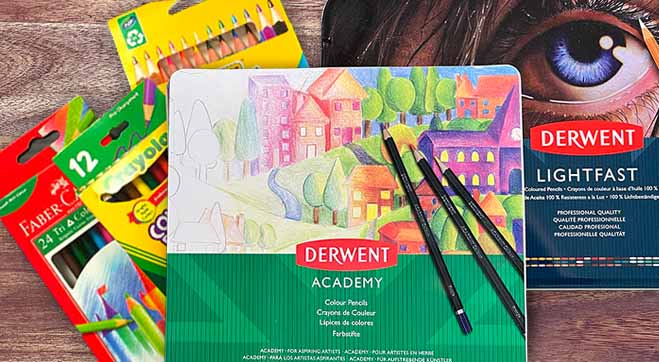
The techniques I show you work with a variety of colored pencil brands (I used Derwent Lightfast but you can use whatever you have.)
Tip: avoid using super-cheap no-name brands.
Draw a Pet Dog Portrait in Colored Pencil Curriculum
Want to know everything that’s in the course? Here’s the complete list.
Introduction
What You’ll Be Learning
Art Materials
Printable Course Images
Drawing Wags
Construction Drawing and Fur Outline
Shadow Map Discussion
Transferring the Outline
Coloring Wags
Wag’s Eyes
First layer of Fur
Wag’s Nose
Second Layer of Fur
Fur on Head
Muzzle Fur and Impressing Techniques
Left Ear
RIght Ear
Fur and Collar
Summary and Conclusion
Frequently Asked Questions
Do I need any drawing experience to enroll?
This is suitable for complete beginners. No experience necessary.
Who is this for?
- Beginners who want learn colored pencil techniques
- Experienced artists who would like add colored pencils to their current drawing skills
What ages is this suitable for?
This is suitable for adults or children 10+ (with adult supervision).
How long does the course take to complete?
Most students take around 20 to 25 hours to complete Wags the Cavoodle.
What if I get stuck or have a problem?
Email us. We’ll be happy to help.
What's included in the course?
- 9.5 hour of HD videos
- 2 downloadable resources
- Lifetime access
What art supplies do I need?
- Colored Pencils (Colour Swatch Provided) – I used Derwent Lightfast from the 100 tin but you can use whatever brand you have
- Gamsol Odourless Mineral Spirits (OMS)
- Soft brush for use with the OMS (such as a filbert)
- Extra brush to wipe away erasing crumbs
- A variety of erasers such as Derwent battery eraser, Derwent black eraser, Pen erasers, Tombow Mono Zero eraser
- Ordinary printing paper for sketching
- Quality paper for colouring on (plus extra sheet for practicing). I used the Derwent Lightfast paper. Other good quality papers will do well too
- Graphite transfer paper (I prefer home-made with a graphite stick)
- Compressed graphite stick (to transfer your image)
- Clear plastic sleeve
- Permanent marker (fine tip)
- Sticky tape
- Slice Tool (optional)
- Impressing or embossing tool
- Glassine paper
All supplies are explained in a video at the beginning of the course.
This course (and so much more) is included in Cindy's Drawing Club membership.

