How to shade in graphite pencil
Learning to shade in graphite doesn’t have to be hard. Have you been struggling to get the results you’re truly looking for with your pencil shading techniques? If so, it might just be one simple thing holding you back. In this article I’m going explain a few quick fixes that could make a massive difference to your shading skills.
The important thing to remember in the first instance is to persevere! You have to actually draw, to learn to draw. Besides that fact, you could be trying but still not getting the results you want or have been hoping for. I can help you right here and now.
Here are the top 3 pencil shading tips to help you improve immediately
These are my top 3 tips to help you find out what you need to do differently, to shade better immediately today!
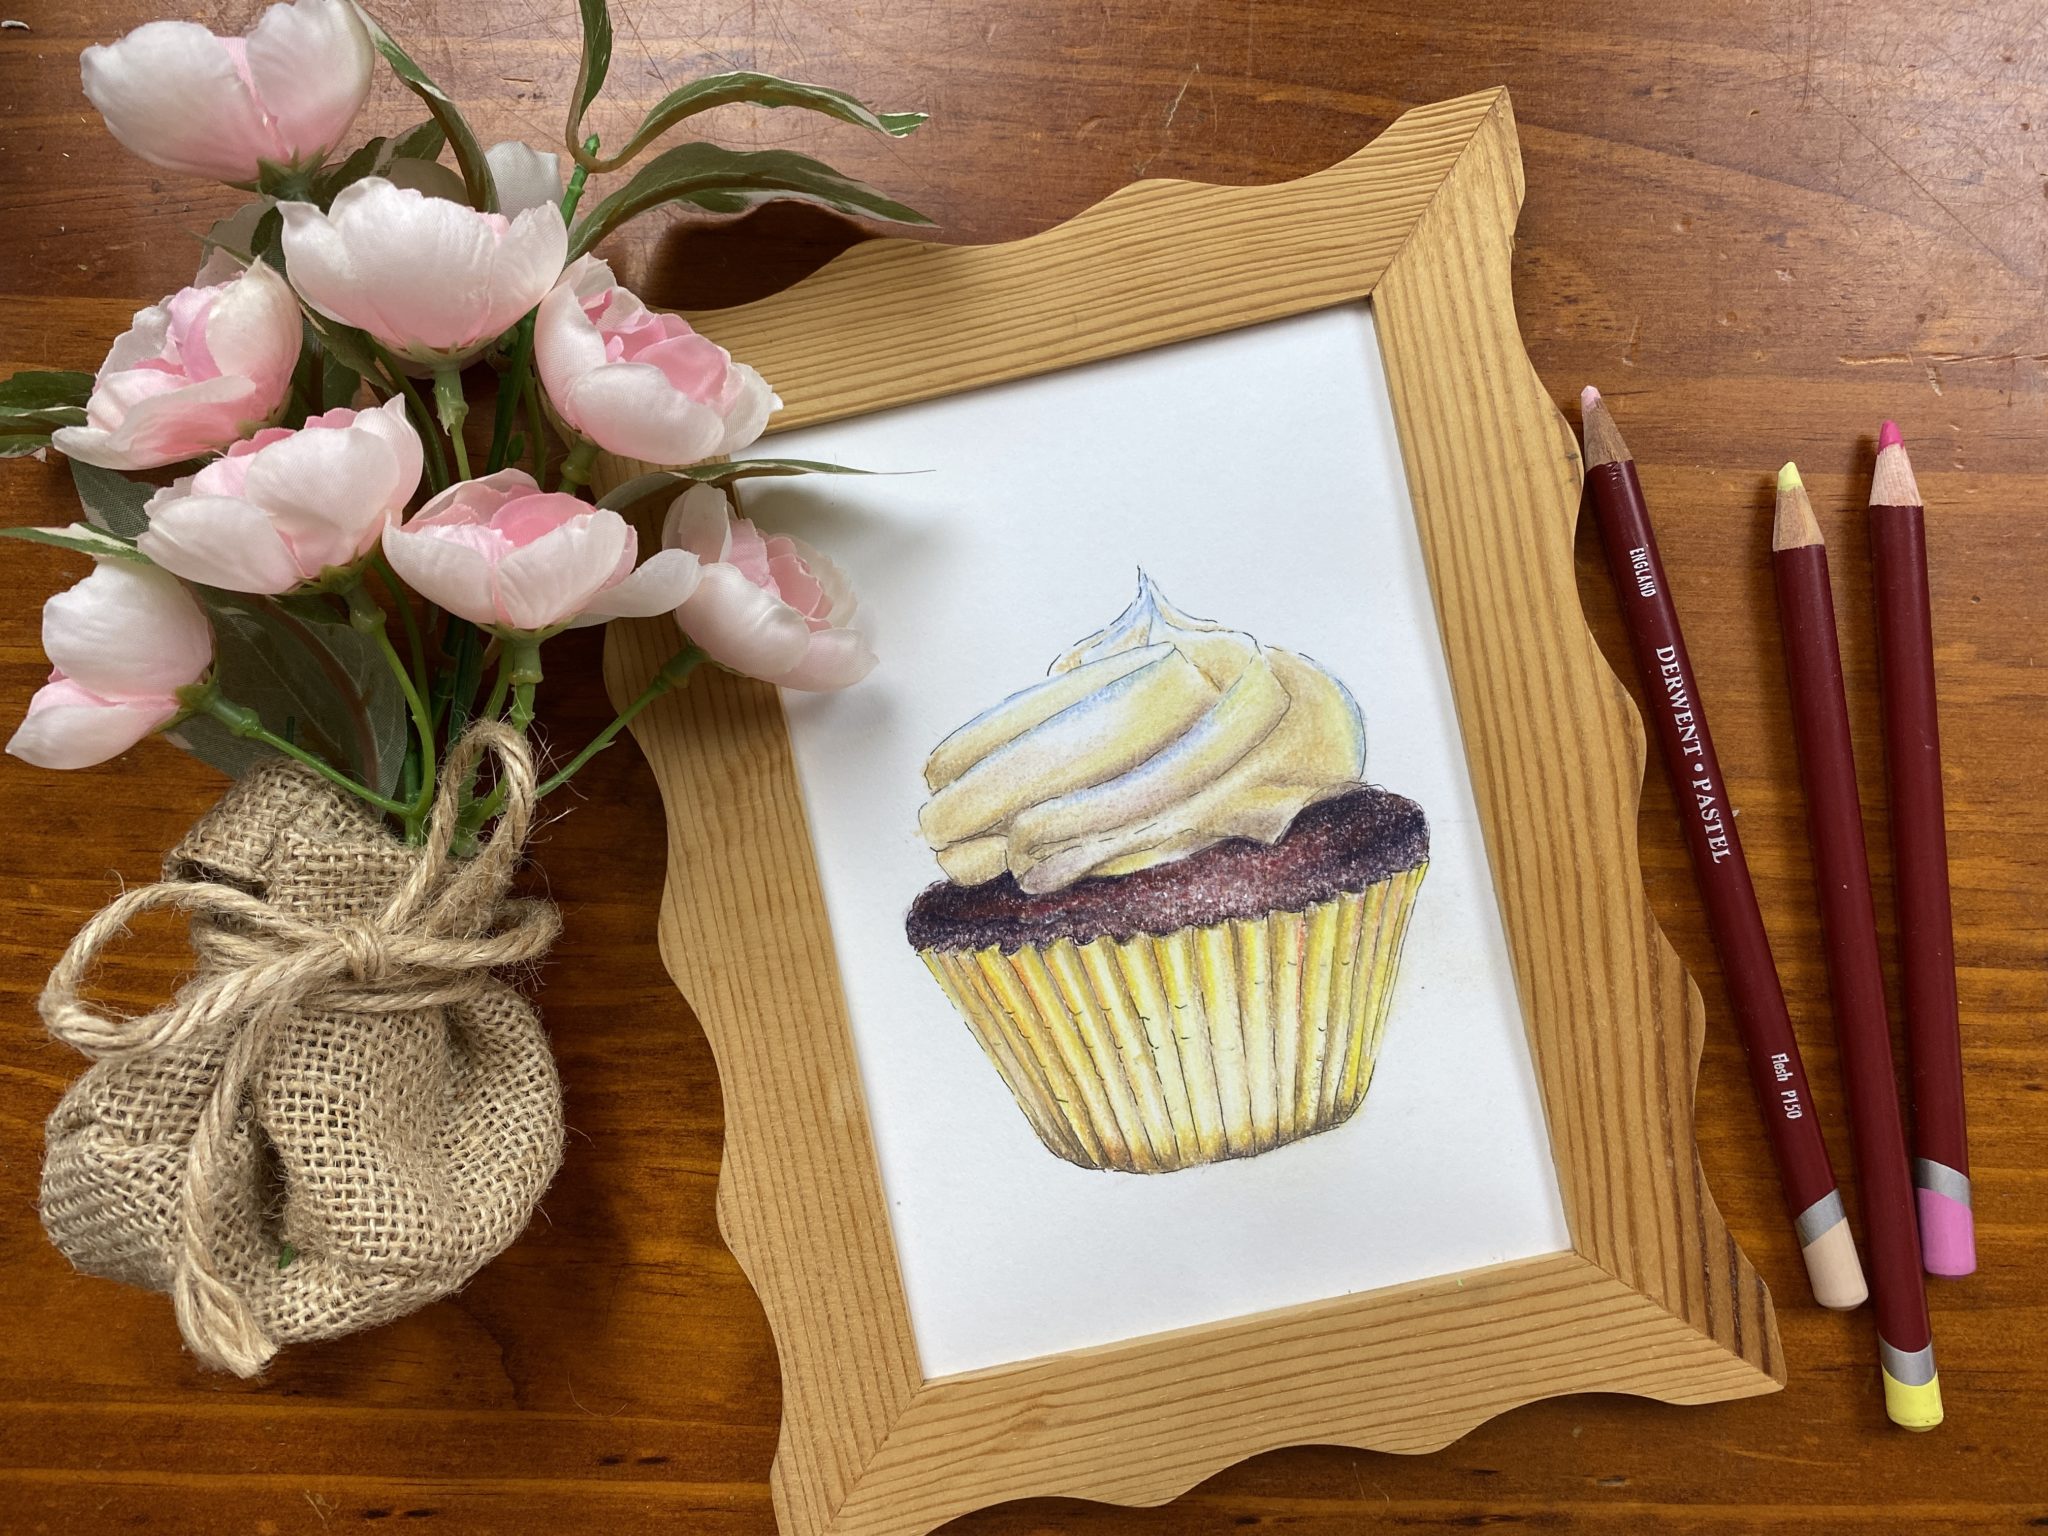
1. You’ve chosen the wrong type of paper for shading.
For smooth shading you need a paper that has a bit of tooth (texture) but not too much. A lovely smooth hot pressed paper will do the job so long as its not too shiny.
See my Youtube video for more advice on the right paper for smooth shading Choosing the Right Paper For Graphite Pencil Drawing
2. You’re filling your paper too soon
There are 2 things that make this problem occur; laying on too much graphite too soon and/or applying too much pressure.
If you’re laying on too much graphite too soon your paper will fill quickly and with no more room to add further graphite your shading will look patchy as it slips off the surface of the paper in places. Not only that it will be difficult to make your dark tones dark enough in later layers. Lay down your graphite in light layers.
If you apply too much pressure on your pencil you will flatten the ‘tooth’ (texture of the paper) and then following layers will slip around on the surface as well.
The way you prepare your pencil for shading and the way you hold your pencil can affect how much graphite you lay down in the first instance.
For the best chance of success with pencil shading, make sure that sharpen your graphite pencil to a long sharp tip before you begin drawing. A great idea is to use a mechanical pencil with a wider size lead (ie: 2mm) diameter to expose the maximum amount of lead (graphite.)
3. Holding your pencil the wrong way
Learning to hold your pencil in the correct position for smooth shading in graphite takes a little bit of time and effort but its so worth it. It might feel a bit weird at first but remember to persist.
If you persist and hold your pencil almost flat to the page, while using a stiff wrist with action coming from the shoulder you’ll do great! You should also be controlling the pressure on your pencil by resting the outside of your pinky finger on the page. Make sure that you have some scrap paper beneath your hand to avoid smudging.
Maybe you’ve been stroking the page with your pencil the wrong way (start by laying it on the side to begin with, then use the tip for later darker layers and finishing off.) When you lay it on the side you have a better chance to cover the area evenly and neatly.
Tips: Avoid leaving rows of the blank white paper uncovered between strokes. Alleviate pressure at the start and ending of your strokes. Using a fine tip too soon can overfill your paper.
You need to apply your layers down very lightly and evenly at first, and don’t allow the graphite to completely fill the tiny dips in the texture of the paper too soon. Leave more room for later layers.
See this video on how to shade smoothly Two Graphite Pencil Techniques for Smooth Shading
Summary
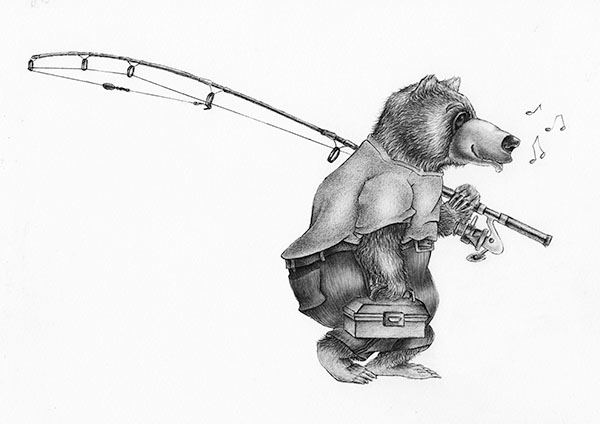
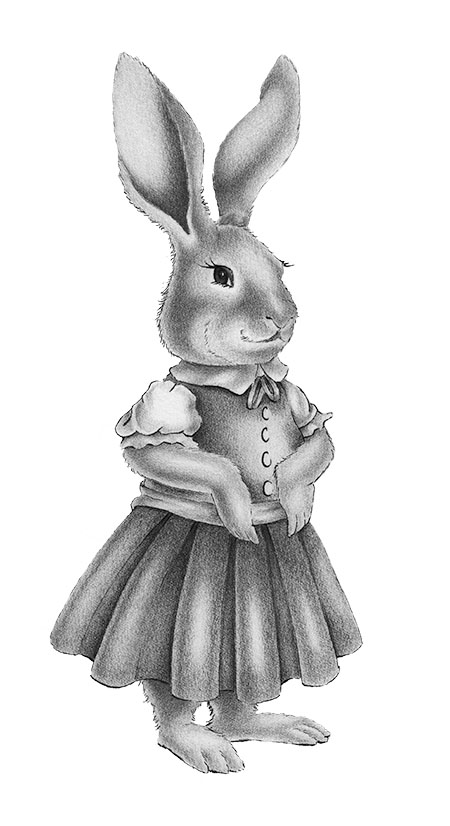
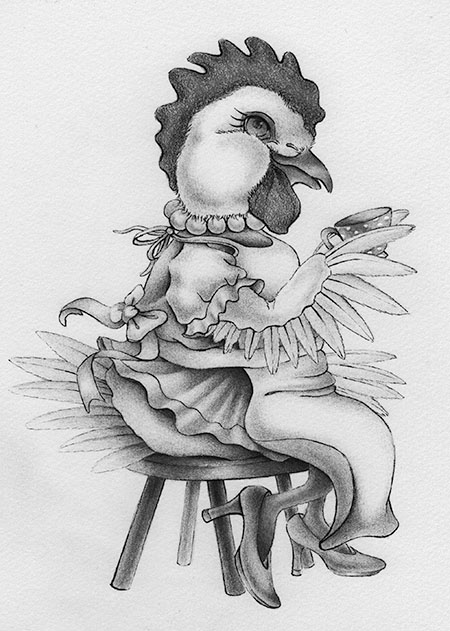
If you put in the time and effort to truly learn to draw and shade well, you’ll discover an incredible new world open up to you. If you’re really struggling with this method, have a go at this short course where I teach drawing and shading through cute woodland animals. Its a wonderful easy introduction into the world of shading.

Learn to draw in 60 seconds – woodland animals
On another note, if you need more help, maybe you need to consider my private 1:1 email mentoring and art lifestyle coaching program. Fill in my form here to apply (I have a heart for retired women and work with people from all levels of ability so don’t be shy.) Art Lifestyle Coaching With Cindy Wider
Happy drawing times!