Photorealistic drawing is so much fun, especially when you wow your friends, family and work colleagues. They can’t believe it’s a drawing and more suprisingly that you actually did it! They seem to think you have some sort of incredibly mysterious hidden talent.
Press the link below for my latest Youtube video on how I created this green eye:
Draw A Realistic Eye in Lightfast Colored Pencil
The fact is that you can really do this. You can draw a realistic eye like this one, all you need is to know a few ‘tricks of the trade’ and I’m exposing some of these to you right here in this blog post today. Of course there’s even more to learn…and thats why I create ‘learn-to-draw’ and color video tutorials in Cindys Drawing Club, as well as books, articles and magazine articles.
I love sharing everything I know about how to draw and how to color. I don’t hold back anything in my step-by-step how to draw tutorials. Take a look at my drawing of this photorealistic eye in coloured pencil on my Youtube channel and remember to subscribe for more from me and press that little bell so that you’re notified when I add more new videos.
Youtube: Draw a Realistic Green Eye in Lightfast Colored Pencil
My top 10 tips to help you draw in a photorealism style:
Tip # 1: Use Quality Materials
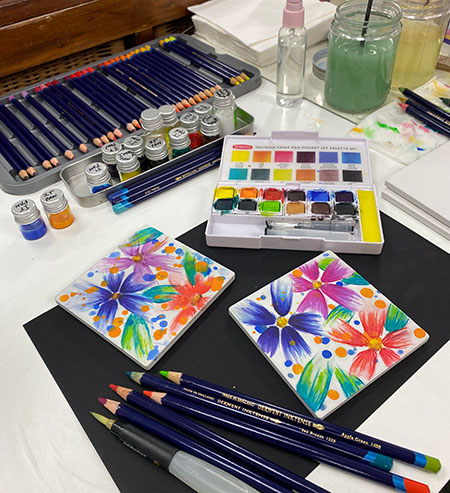
Use great quality art materials. Your colored pencils and paper should be top quality if you want great results. If you possibly can, invest in top quality paper and pencils (you can use any good professional quality pencil brands and a lovely smooth hot pressed watercolor paper. For pencils I prefer an oil-based pencil such as Derwent Lightfast and the paper to match)
Tip # 1: Use Quality Materials
Work with good lighting and a lovely smooth board propped up on a slight angle (it’s kinder on your neck and you can see the image better too)
Tip # 2: Have A Quality Photograph
Make sure you have a good-quality photograph that shows all the small details
Tip # 3: Create and Accurate Drawing
Check your initial drawing to be absolutely certain it is accurate before you begin to add color.
Tip # 4: Test Test Test
Always test your colors and textures multipled times (and practice any techniques) separately before you touch your final drawing
Tip # 5: Build up Layers Slowly
Build up your layers very slowly using the correct tip on your pencil for the texture (eg: a dull, chisel point or pointed tip)
Tip # 7: Observe Your Reference Photo Carefully
Remember that your shadow and highlight shapes are just as important as the outline itself. Place your finger on your reference image (the drawing your working from) in the place you’re drawing at the time. That way your brain will remember to keep looking back at the image. Use the 80/20 rule; 80% looking at the photo and asking questions about angles, tones, sizes, colour and spatial awareness. Then draw what you’ve learned through thinking about the photo reference the other 20% of the time. This is usually just as you’re establishing the drawing. As you move more deeply into the drawing you can then often just use textures to build up the drawing.
Tip # 8: No Pressure
Don’t put pressure on the pencil until the very end when you’re placing on the final burnishing layers. Burnishing means filling the paper completely. When you add pressure onto the pencil it flattens the paper fibers so you can’t add much more pencil at all.
Tip # 9: Use OMS Correctly
When you use OMS (Odorless Mineral Spirits) don’t drag, only tap with your cotton bud. Allow the product to do the work and gently melt the pencil into the paper.
Tip # 10: Smile
Smile while you draw, it relaxes your entire upper torso. As a bonus, you’ll enjoy the process and have way more fun along the way. Put on some wonderful ambient music and set the mood with some lovely essential oils or fragrant candles.
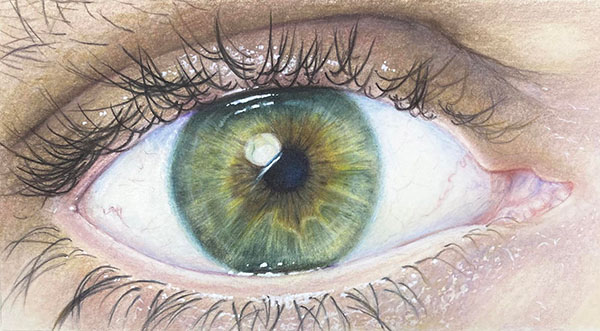
Derwent Lightfast on Lightfast paper by Cindy Wider
If you’d like to have a go at drawing this too, you can come on over to my drawing club where you’ll find the real-time process in over 3 hours of video along with all the resources to help you do that. Here’s a link to my club. See you in there!