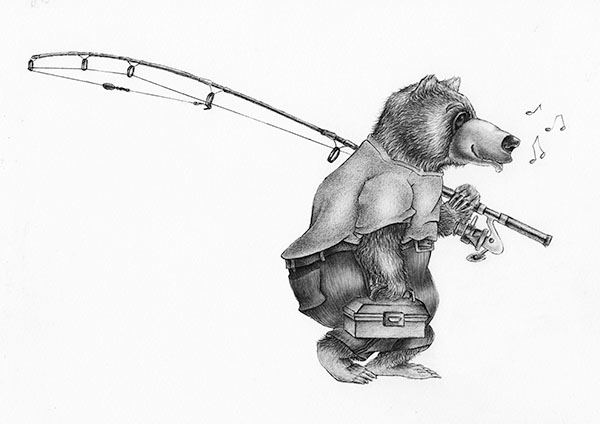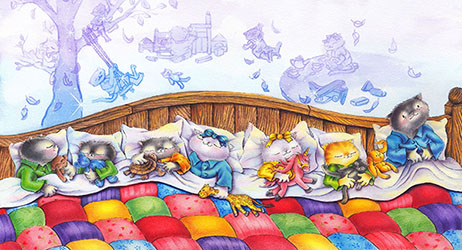
Do you sit staring at a beautiful blank piece of drawing paper, with no idea of what you want to draw?
Imagine if your fear of a blank page has completely disappeared. BAM! Gone like dust into the wind!
So exactly how can this happen? How does an artist create a totally original artwork from their imagination, looking all neat and simply awe-inspiringly spectacular?
I’ll summarise the process for you in 3 simple steps so that you can do the same:
Stage 1: Heart and Soul (The idea)
I call this stage the ‘Heart and Soul’ because its the very reason why the artwork is created in the first place. It should first and foremost come from your heart and soul.
Ideas and inspiration can come to you at anytime from anywhere…
so be prepared!
It’s important to immediately capture every little idea no matter how insignificant it seems, otherwise it can easily be forgotten or dismissed as not important by our overly-protective logical thinking.
Here’s what to do to be ready to capture your ideas at a moment’s notice:
- Have a pen or pencil and little notepad handy in your bag at all times (if you use a bag)
- Next to your bed keep a pen, pencil, paper and bedside lamp for when your idea strikes late at night or in the early hours of the morning (highly likely)
- Make sure you have notepads around the house with a pen attached – so it doesn’t go missing. Keep one in the kitchen, lounge or other areas you frequent.
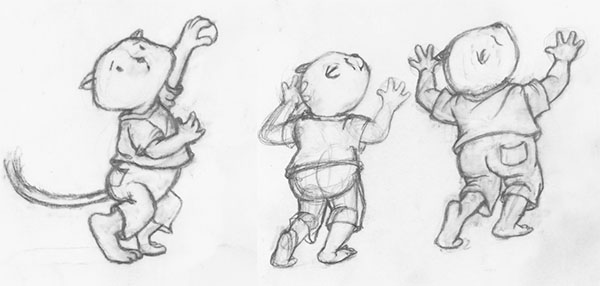
- Begin recording your idea as a little sketch.
- Don’t overthink it. Just get the idea out as quickly as possible.
- Use Scribble Gesture to quickly record the idea and annotate (otherwise you might forget what your scribble is.)
- See the video below for information on how to do Scribble Gesture Drawing:
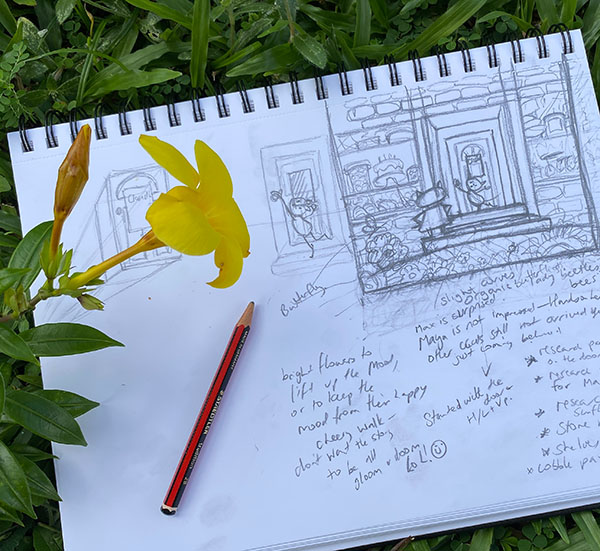
Stage Two: Planning and Research (gather information your subjects)
During this stage you will begin to gather more information about the subjects you’ve chosen for your idea. Research the elements that you want to include in your idea as much as you can. You’ll also be planning where to position the objects, what shape your final artwork will be and what medium you will use.
Here’s a simplified outline of the process you can use to plan your image:
- The Medium
Think about whether you’d like this to be a drawing, painting or whatever other medium you’ll use. Depending on the medium you choose, this will affect your final outcome and process. - Size and Shape
Consider the size and shape of your paper. This decision sometimes evolves along the way but if you’re limited by the canvas you have available be sure to think of the shape of that canvas first before you do any planning. The shape means be sure to use the same ratio of height to width during this very early planning stage. You will plan the image smaller though, in little ‘thumbnails’ which are small versions of your idea. - Let it evolve
Don’t get too attached to your initial idea. - Use your rules of composition as you plan your artwork
Consider your horizon line with viewpoint very early on. Make sure you also think about your chosen focal point with line and direction. - Cheap paper is okay
Draw on ordinary thin sketching or printing paper. Thin paper is good for transferring the image later because you can use various methods to see through thinner paper. - Adjust as you go
Be prepared to keep adjusting your image a lot as you go. Erasing, redrawing, moving, physically cutting and pasting are all a normal part of this process during this planning stage. - Tracing Paper is handy
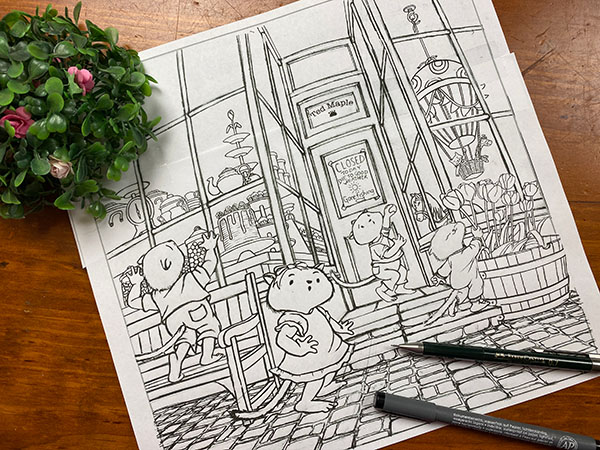
Use tracing paper to transfer individual drawings to the larger picture your working on, or use a photo-editing software program like Photoshop to cut and paste individual objects if you want to. Your drawing can change shape, ideas will develop along the way. Be prepared to add paper on, cut paper off. - A Final Rough Draft
Complete your final rough draft outline in such a way that it’s ready to transfer to quality paper.
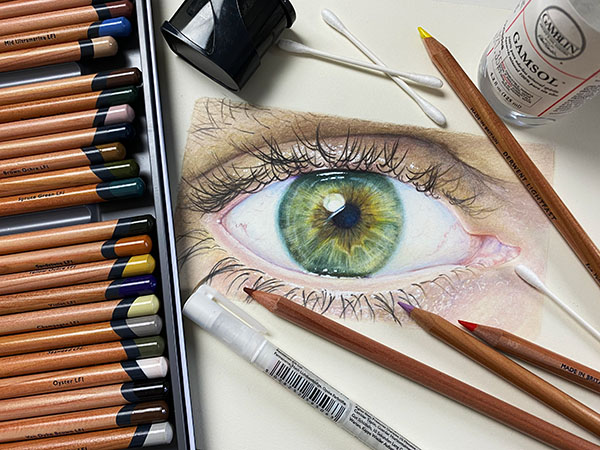
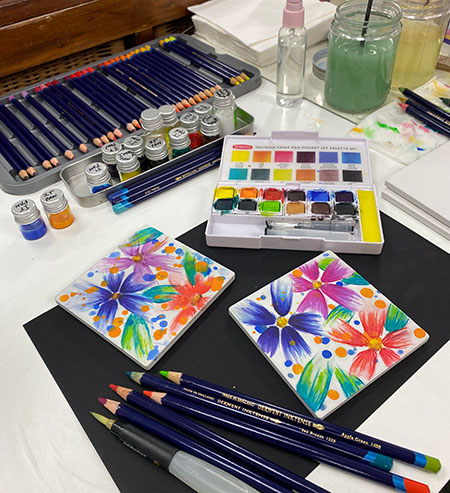
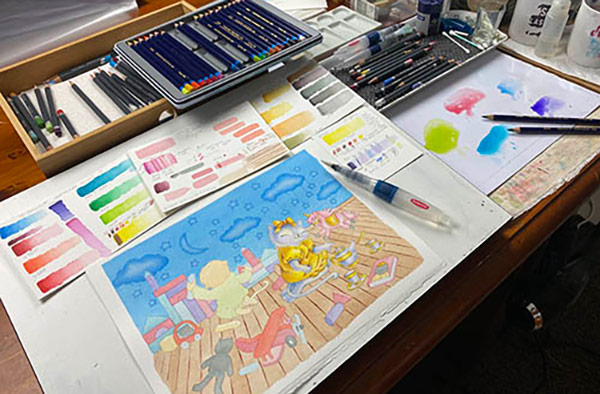
Stage Three: The Application (transfer and color)
Your final rough draft is completed and you can now transfer the image to your beautiful good quality paper using the technique of your choice (depending on what you have available and the medium.)
Image transfer options
- You could use either a light table or a window to see your rough copy through beneath your quality paper then gently draw over the top in pencil.
- Alternatively you could use the Graphite Transfer technique.
With your image all transferred to your good quality paper its now ready for your final outline or colouring as desired.
That is how you create a totally original artwork in 3 simple steps!
Want to learn more from Cindy?
If you’d love to work with Cindy in her 1:1 private mentoring program book a FREE 30 minute session by filling in the form at the link below (limited spots available.)