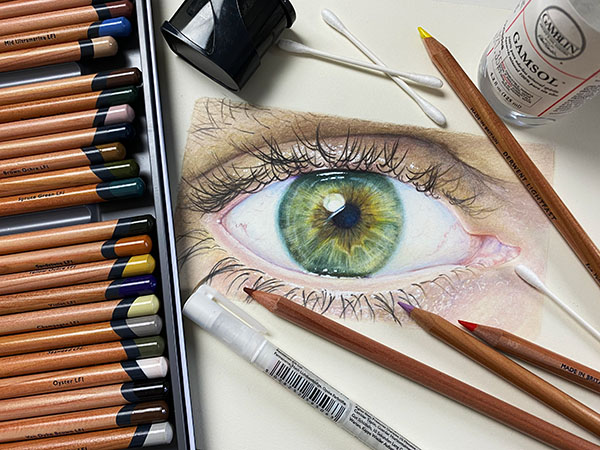
When creating a pencil artwork of any kind erasing can be almost as important as the actual drawing itself. It’s especially important when creating a coloured pencil drawing as it can be very difficult to add those extra little details to your image if the paper is already loaded with pigment. This is where an electric battery operated pencil eraser can be so useful.
In this video I introduce you to the electric eraser and show you how to change the tip and sharpen it ready for use with a sandpaper block. I then show you how easy it is to erase small details from a coloured pencil artwork so that extra pencil can be added.
My favourite electric eraser is made by Derwent and I’ve owned and used the same one for about 8 years, right up until last week when I finally replaced it with a brand new one. That wasn’t because the old one wore out; on the contrary, it was still going strong; I actually gave it to my mother-in-law who is also an artist, who I am sure will use it for many years to come. They are really not that expensive though and so very useful, so it’s worth buying one to add to your art kit.
[To stay up to date with my new videos – Subscribe to the DrawPj YouTube Channel]




Thank you, Cindy, for your wonderful tips which I find very helpful as an illustrator. I’ve already bought an eraser stick and going to order this one too.
Thanks Iris, glad to be of help. Have you tried the Derwent Super Point Sharpener at all? Its gorgeous.