Now those days are long gone! Since then, I discovered a very quick and easy way to draw circles freehand every time – with just the pencil I use to draw with.
Learn to measure with the pinch grip:
Just before we get started drawing circles, you need to learn how to measure a line using your pencil as a measuring device. Use my quick and easy step-by-step guide to help you with this technique.
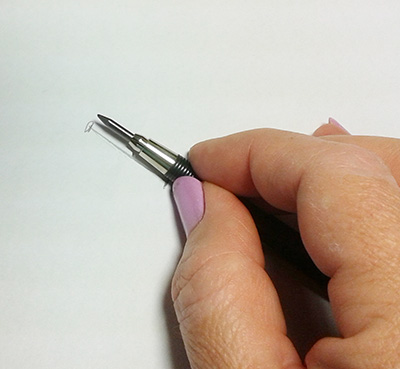
- Line the tip up at the end of the line and pinch it at the other end where your line ends. Keep your nail or the flesh of your thumb just behind the end of your line so that you can see where it ends.
- Keep your pinch grip and transfer that measurement to create another line the exact same size.
Draw A Circle Within a Square:
One great way that I have discovered to draw a circle freehand is by first of all drawing a square, then draw the circle within the square. Here’s how.
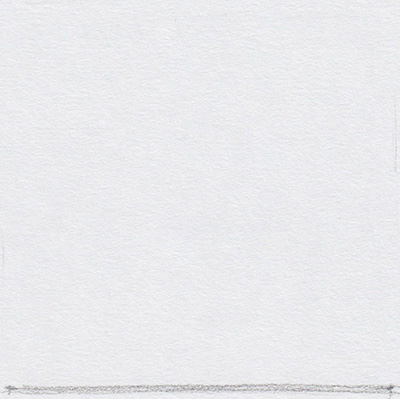
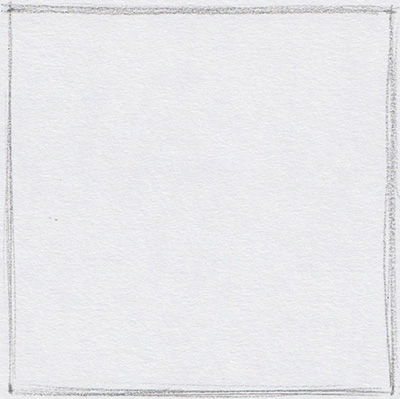
Step One: First of all sketch a line the same size as the width you want your circle to be.
Step Two: Measure that line with your pencil using the pinch grip. Carry that measurement to create the other three sides of your square.
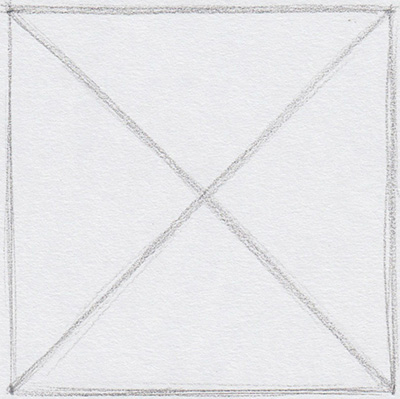
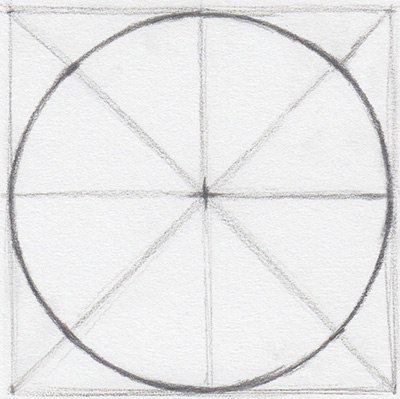
Step Three: With your square in place, draw diagonal lines from corner to corner within the square. The centre of the square is where those two diagonal lines cross over.
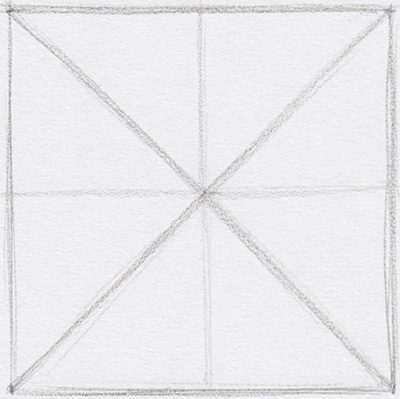
Step Four: Draw a vertical and horizontal cross through the centre (where the two diagonal lines cross over.) This will make a star-shape with the lines within your square.
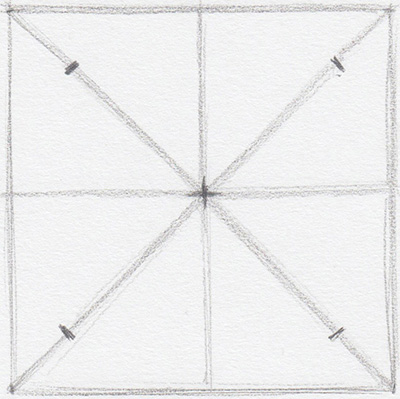
Step Five: Use your pencil with the pinch grip to measure the length of one vertical or horizontal line from the centre to the outer edge of the square. Use that measurement to make a mark on all four diagonal lines. These marks are the guides you are doing to use to draw your circle with shortly.
Step Six: Before you draw your circle in, create slight curves on all four ends of the horizontal and vertical guides. You will refine these as you draw your circle in a moment so they can be just approximated.

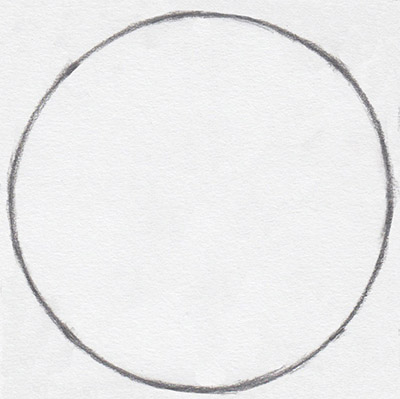
Step Seven: To draw your circle in beautifully, make sure that you join up the four smaller curves that you just created, by travelling through the guidelines on all four diagonals. It helps to work in one quarter of your circle at a time and create ‘Ghost Lines’ before you firm in the curve. Ghost lines are sketched above the surface of the paper, or just barely touching it.
Step Eight: Erase your guide lines and your circle is complete!
The exciting thing about drawing circles, is that many objects can be draw by starting with just this one simple shape. Have fun with your new circle drawing skills!
If you’ve looking for more of my quick and easy methods to draw better immediately, enrol into my Complete Online Drawing Course.