This artwork was created in 2011 as a part of my solo exhibition that I held at the ‘Outback Regional Gallery’ in the Waltzing Matilda Centre in Winton Queensland Australia . The Artwork was purchased for the Kerrmuller Collection gallery (my Australian art agent) in Nambour Queensland Kerrmuller Collection Gallery.
A Three Stage Process:
I work in three stages when creating an artwork on paper or canvas. Stage one is called the ‘Heart and Soul’ stage where I become attached to the idea of an illustration or painting and make an emotional connection. This is when the very first inkling of an idea is formed. Stage two is called the ‘Planning Stage’ and its when I gather reference materials and begin fine-tuning the thumbnail sketches. The third and final stage is called the ‘Application Stage’ and thats when I actually begin creating the artwork. If I invest alot of time and effort into the first two stages, stage three can be really rewarding and enjoyable.
Stage One; Heart and Soul

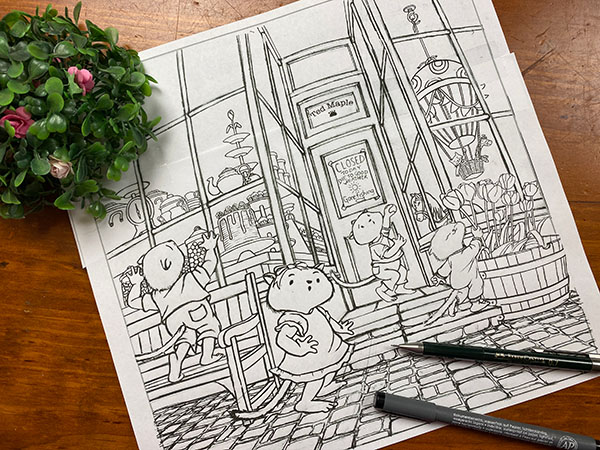
Fig. 1. Rough Thumbnail Sketch
During this stage I created the rough thumbnail sketch (see Fig. 1) on the right. This is the initial thumbnail sketch which gave me vital clues for the photographic references that I had to make. The man will be sitting like this on his horse looking out over all of his land. You can see the thumbnail – the idea is he is in quiet contemplation as he proudly views the land he loves and has lived on for many years. He hopes the land will also support his future generations to come.
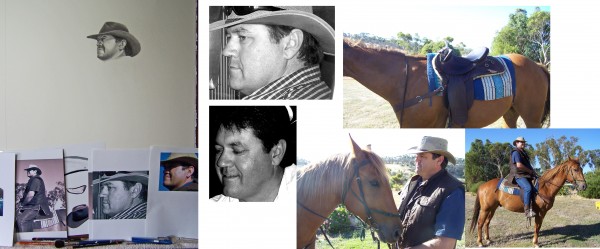
I travelled to South Australia to gather photographic resources for the exhibition and visited my sister and brother in law on their huge cereal farm. Before I took the photos in SA I knew what I wanted but I didn’t want to ask my model to go all the way up the hill on the horse because it was very hot and he was so busy. As it was I asked him to wear a hot jacket; he normally wears this one when its a bit cooler, but because it is well-known jacket here in Australia made by RM Williams I wanted him wearing this one for authenticity. More interesting than his blue shirt he was wearing that day because he was doing welding in the shed.
We took the poses on horse back in the yard and then I took seperate photos of the hills on another day. To achieve the exact image I was imagining I sorted through hundreds of photos I took then settled on about 40. They were all used at some stage throughout the creation process. I had to use two different photos super-imposed together for the overall artwork; the man on horseback was one image and then the background rolling hills was the other. I used photoshop to lasso and then copy and paste the images together but that is only for my reference to look at (see Fig. 2.)

Fig.3. Photoshop background with image of man on horse

Fig. 3. Outline Drawing
Stage Two: The Planning stage
I used the grid method to draw this initial outline then transferred it to quality paper all A4 size. I darkenned the outline then scanned it into photoshop. Then I enlarged my outline drawing in adobe illustrator to fit my paper size which is about 73cm high. I printed out the drawing (the image is printed out in a whole heap of A4 sheets then I have to stick it all together like a giant mosaic.) This is because I ddin’t want the grid on my paper.
Once I printed out the image and stuck all the A4 sheets together, I then used the graphite transfer technique to transfer it to my large piece of Arches water colour smooth paper (Hot pressed).
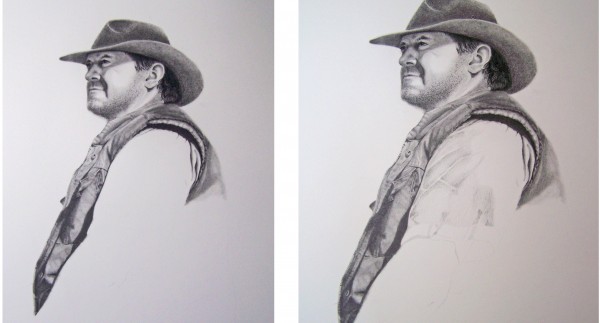
In Fig. 2. I have darkenned the outline in photoshop for you to see but in the real illustration you can barely see the outline at all. Thats important because we don’t like a hard outline before we begin our shading stage. In the next image you can see that I have begun on the face and hat, the rest of the drawing is all there in faint outline.
Stage Three: The Application Stage
Once the outline drawing was transferred onto the large sheet of arches paper, I was ready to begin the shading process. I used over 40 photographs to create this image, and I have attached a few here just to show you an example. Its always a good idea to take far more photos than you will be needing. I also printed out zoomed-in images of the arm, the hands and researched the kind of watch that he was wearing. I studied up again on my arm and hand anatomy and carefully measured everything so that it was correct. I also learned about the saddle and the markings so that they too are authentic. This saddle was especially made.
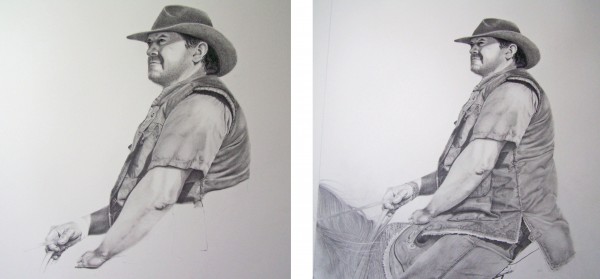
Starting with the hat, then face, I gradually made my way down the drawing, completing it as I went. I used an electric eraser to pull back the white areas and all the highlights. Charcoal pencil was used to create the dark hair. See the steps I took to shade below. The completed artwork took around 80 hours over two to three months working in my pyjama time plus a few full days here and there.

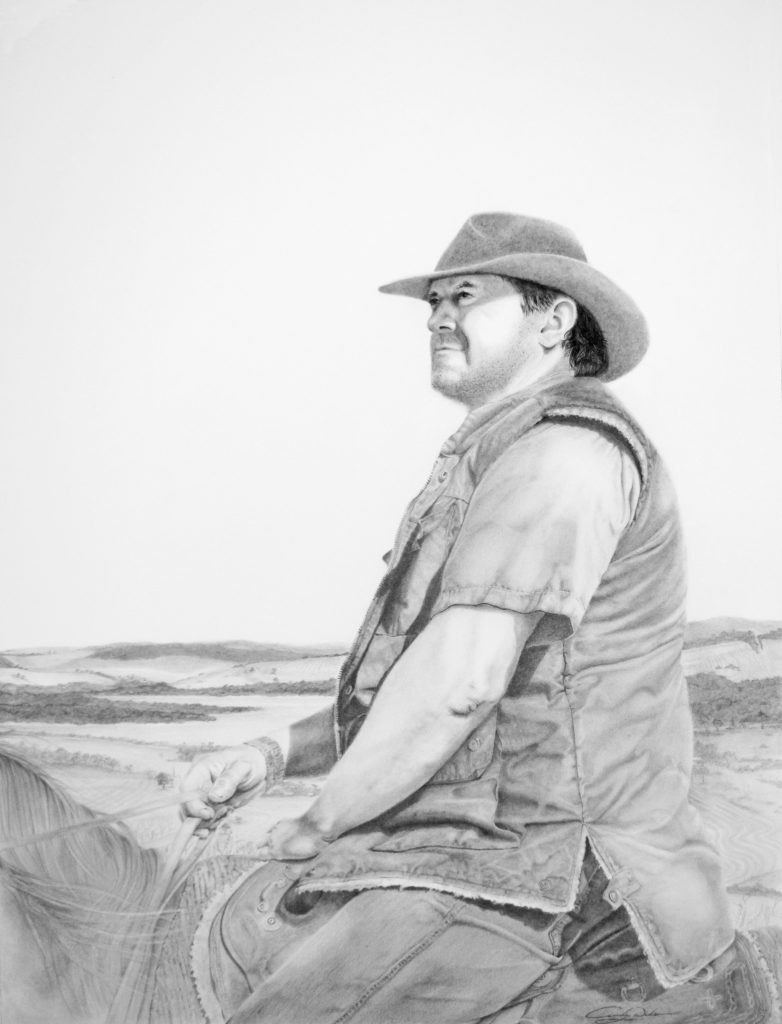

Final Artwork Haning In The Exhibition